...
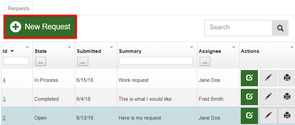
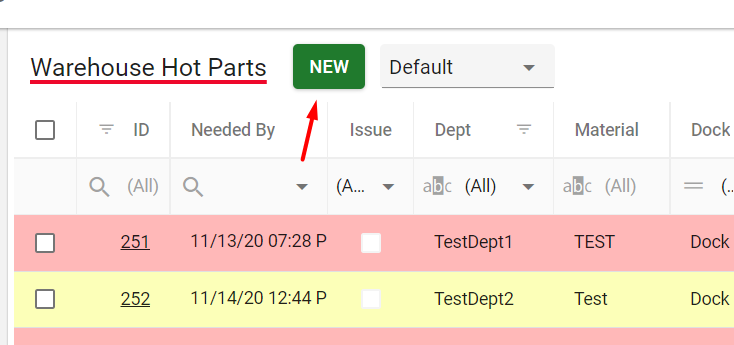
- Select New Request in the upper left.
- You will now see the request entry form, each field should be properly entered. Fields that are highlighted with a Red * are required fields.
- Once all required fields are satisfied to select Submit to add the request, or Submit and New to enter another request.
...
- The requests seen in the grid have an actions column, under the action column select the green action button. This button is related to each individual request when selected the actions available for that request are shown based on the current state.
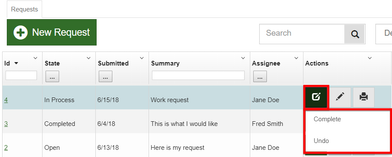
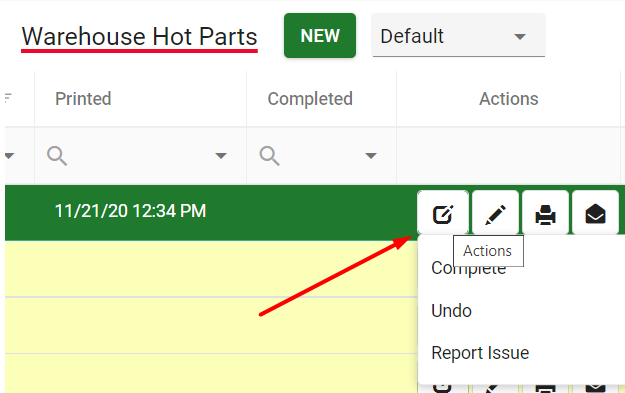
- Now select an action from the drop down. Actions can also be performed using the buttons at the bottom of the edit form if that is the way the Module Owner has it configured.
- Often an Undo action is available, this action effectively steps backward through the work flow when available.
- Cancel is another common action implemented by Module Owners, if available on requests it effectively closes the request.
- More Info/Resubmit options are another common practice, which if available permit the User processing the request to indicate to the Submitter that more detail is required to process the request.
The Submitter may Resubmit after providing the additional required details. - After selecting an action the state of the request will have changed, and new actions may be available. This is the progression of the request as defined in the workflow.
...
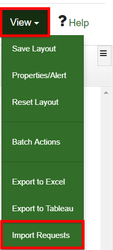
- In the upper right hand of the grid view select View.
- From the drop-down select Import Requests.
- Select "Here"in step one or "Import template” near the bottom. This will download the excel template document.
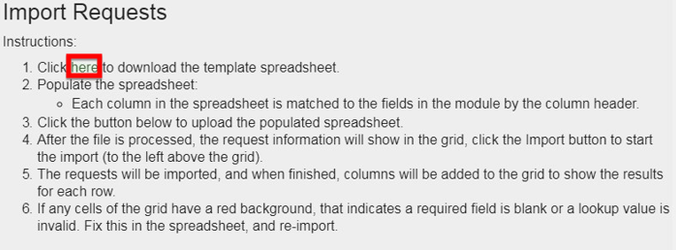
- Open the template and enable editing.
- Field columns with Red text and * are required fields.
- Once the template is filled with the request information to be imported Save the template.
- Within the import request select the "Choose File" button.
- Browse to and upload the saved template.
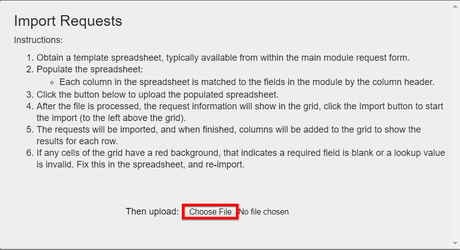
- If there are errors the user will be notified and the affected areas will be highlighted in Red the template.
- Once corrected, or Imported successfully you will be returned to the grid view with a notification of the requests being successfully imported.
| Tip |
|---|
Next step: Module Selection |