...
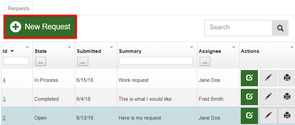
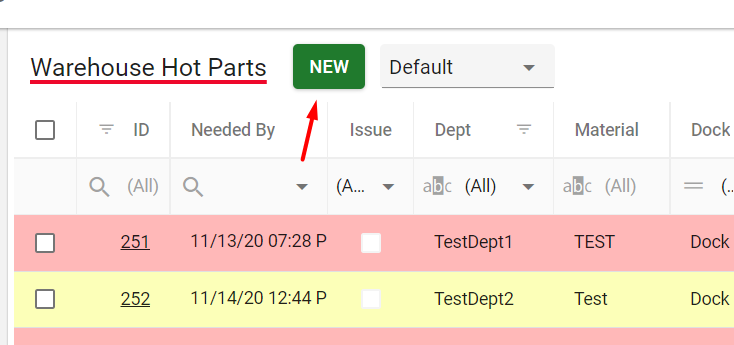
- Select New Request in the upper left.
- You will now see the request entry form, each field should be properly entered. Fields that are highlighted with a Red * are required fields.
- Once all required fields are satisfied to select Submit to add the request, or Submit and New to enter another request.
...
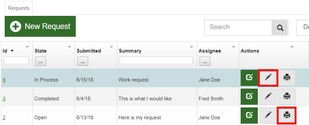
- The requests seen in the grid have an actions column, under the action column select the green action button. This button is related to each individual request when selected the actions available for that request are shown based on the current state.
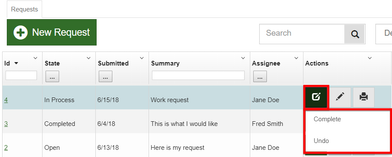
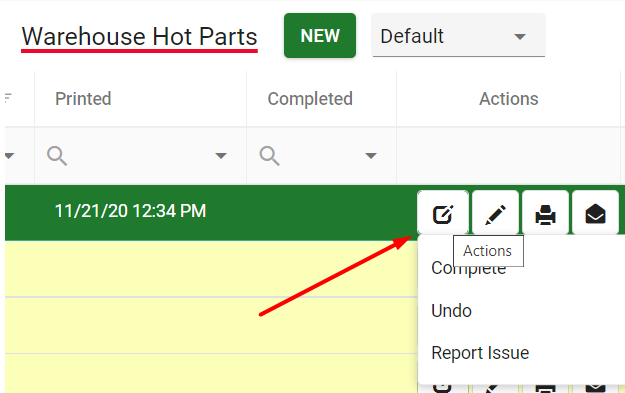
- Now select an action from the drop down. Actions can also be performed using the buttons at the bottom of the edit form if that is the way the Module Owner has it configured.
- Often an Undo action is available, this action effectively steps backward through the work flow when available.
- Cancel is another common action implemented by Module Owners, if available on requests it effectively closes the request.
- More Info/Resubmit options are another common practice, which if available permit the User processing the request to indicate to the Submitter that more detail is required to process the request.
The Submitter may Resubmit after providing the additional required details. - After selecting an action the state of the request will have changed, and new actions may be available. This is the progression of the request as defined in the workflow.
...
How to Update a Request, and Print
Requests already submitted into the grid view are easily edited, or printed.Users can add new requests using the button above the main grid:
- Under the action column select the pencil icon to edit, or the print icon to print, or the toggle between marking request read or unread.
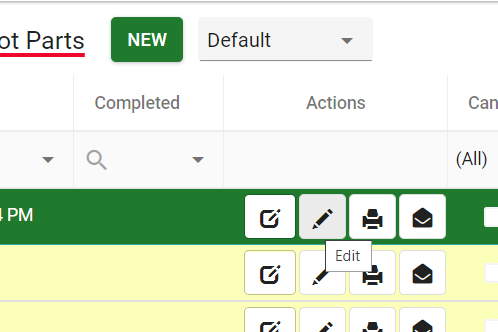
- When editing the request make sure to change the relevant fields based on the intended changes to the request.
- Select Save, the request will now be updated in the grid view.
...
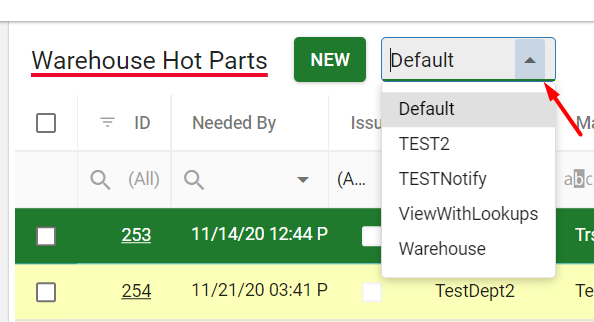
- To begin Select the "Default" layout from the drop down above the grid view.

- Next, reorder the columns in the grid view to best suit your needs. This is done by dragging and dropping the fields left or right to align the order.
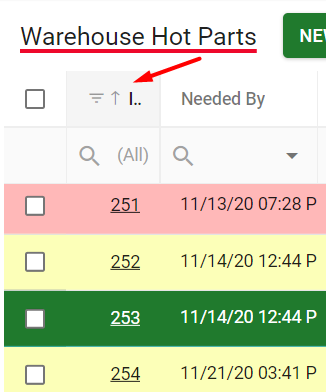
- Then, sort columns individually as ascending , or descending, or hidden. This is done by selecting
 on arrow on each individual column.
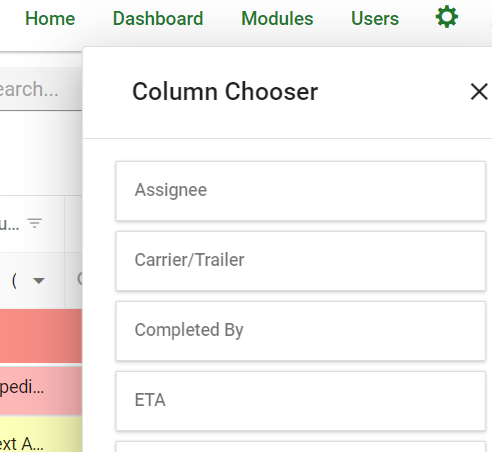
- You can verify which columns are being displayed in the grid within the filter manager
 Column Chooser
 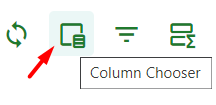 at the top right of the grid view.
This menu may also be used to toggle whether columns are hidden. There is also an option to “Clear all filters.” Filter.
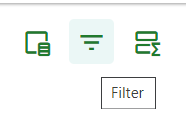
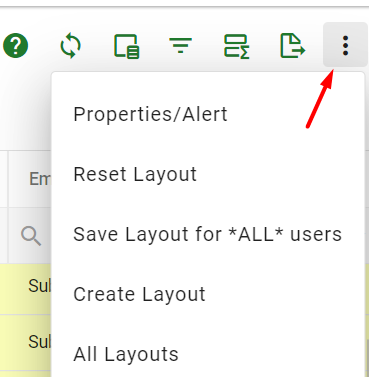
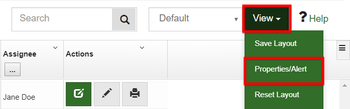
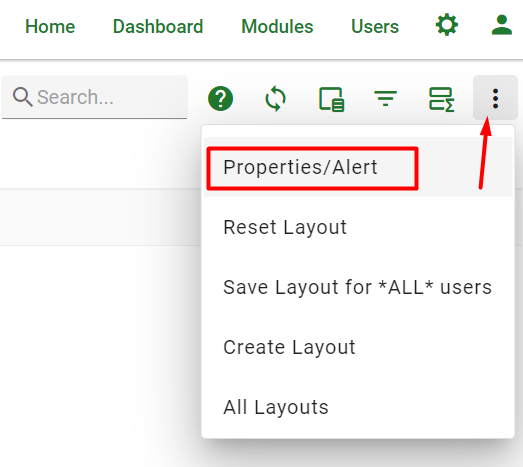
- Once the grid is configured, select the View drop-down menu three dots in the upper right hand corner to see the drop-down menu and select Save Layout.

Creating Email Notifications Based on a Personal View
...
- Having already created a custom layout in the previous section, select View in the upper right and select Properties/Alert.
- Select the Alerts tab.
- From here, you can select the frequency of the email alert, daily or weekly.
- Add any recipients email addresses.
- Select the format by setting the number of columns and which requests to include.
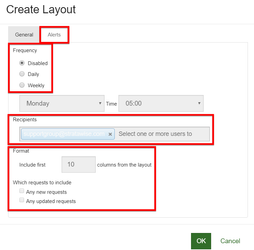
- Select OK, you will now receive an email alert confirming it is configured.
...
To match any items that start with "ABC" and ends end with "G" you would use "ABC*G" (searches for both a matching prefix and suffix), this search would result "ABCIDG".
For more advanced search techniques visit: How to: Advanced search techniques
How to Import Requests
Request The request may be imported in batches through the provided Excel template.
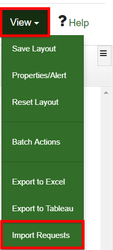
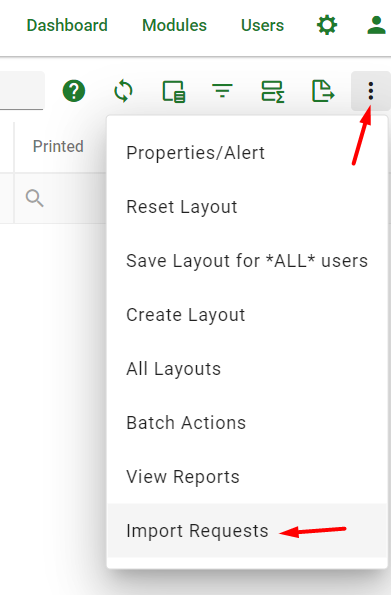
- In the upper right hand of the grid view select View.
- From the drop-down select Import Requests.
- Select "Here"in step one or "Import template” near the bottom. This will download the excel template document.
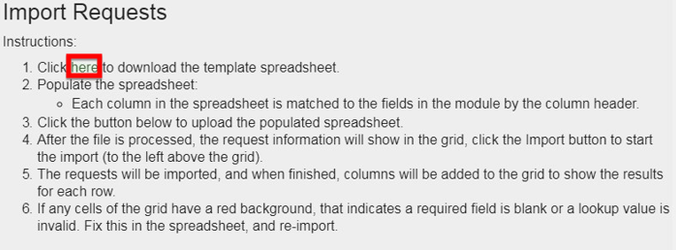
- Open the template and enable editing.
- Field columns with Red text and * are required fields.
- Once the template is filled with the request information to be imported Save the template.
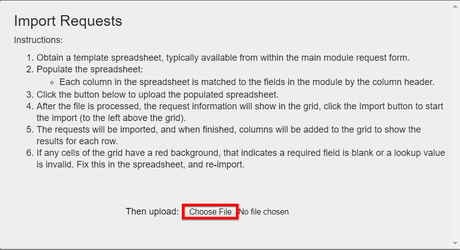
- Within the import request select the "Choose File" button.
- Browse to and upload the saved template.
- If there are errors the user will be notified and the affected areas will be highlighted in Red the template.
- Once corrected, or Imported successfully you will be returned to the grid view with a notification of the requests being successfully imported.
| Tip |
|---|
Next step: Module Selection |