How to: Customize the user portal
Through the User Portal tab on the settings page, the User Portal style and text may be customized, if the text areas here are filled in they will overwrite the default.
Step-by-step guide
- Go to the Workflow Action when performed the value is to be retrieved.
Module → Tenancy Settings (gear top-right) → User Portal (tab) - There will be several text areas, check boxes, and drop down menus.
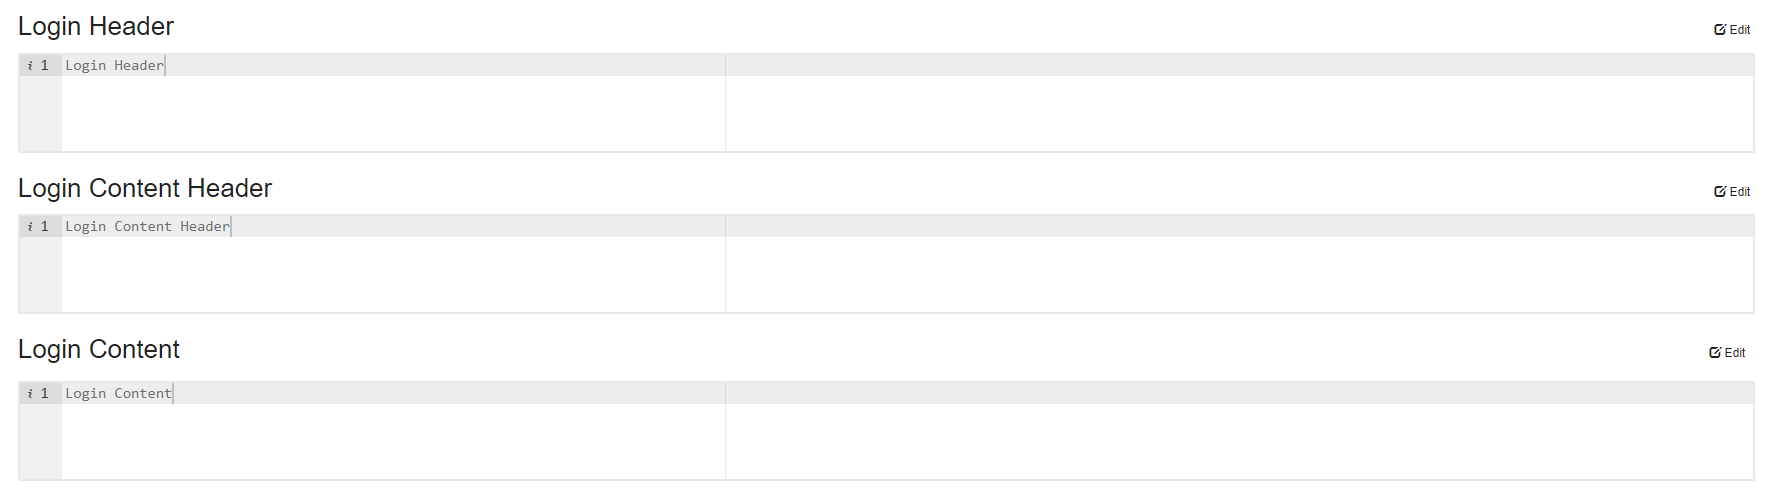
- These text areas are used to customize their corresponding Login/Registration areas.
(Important - The Login Content and Registration Content text areas are able to be formatted through the use of HTML.) - After any options or updating/filling in the text area fields select Save.
- The changes will now be visible in their corresponding Login/Registration areas.
Sub-Portal - To define additional sub-portal configurations select the plus icon next to the sub-portal drop down.
(Below this are helpful links directly to the corresponding locations where these configurations can be viewed. Note: requires a private browser/no active session)
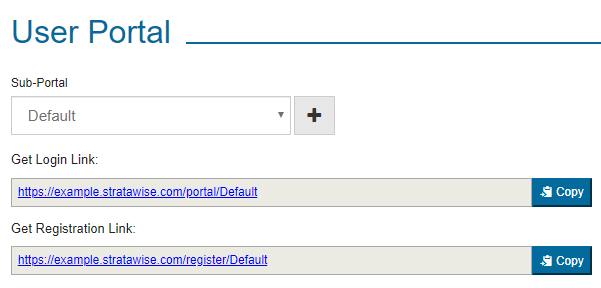
Login - This section defines the Login content displayed when accessing the Login page as an existing User who hasn't logged in yet.
Landing Page - If on login the goal is for the User to land on the landing page this is achievable by enabling the checkbox detailed below and able to be customized here.

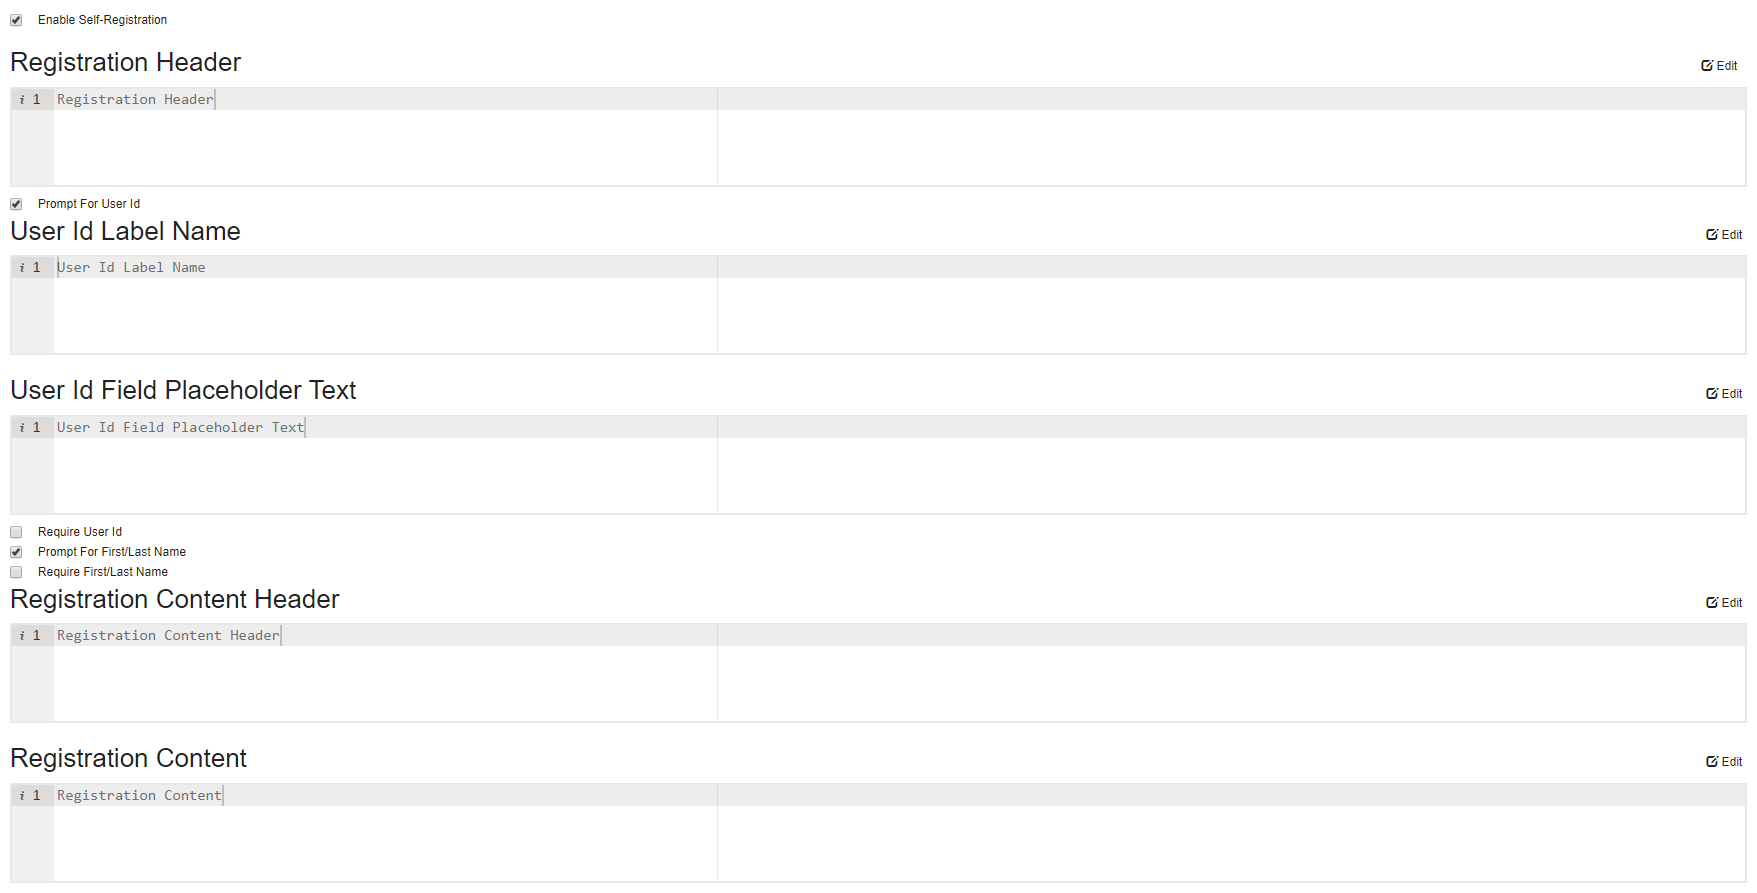
Self Registration - By enabling self registrations Users will be able to sign up to create their own accounts through this fully customized interface.
(Note: Prompting for User Id/First & Last Name are optional, as well as making them required to register)
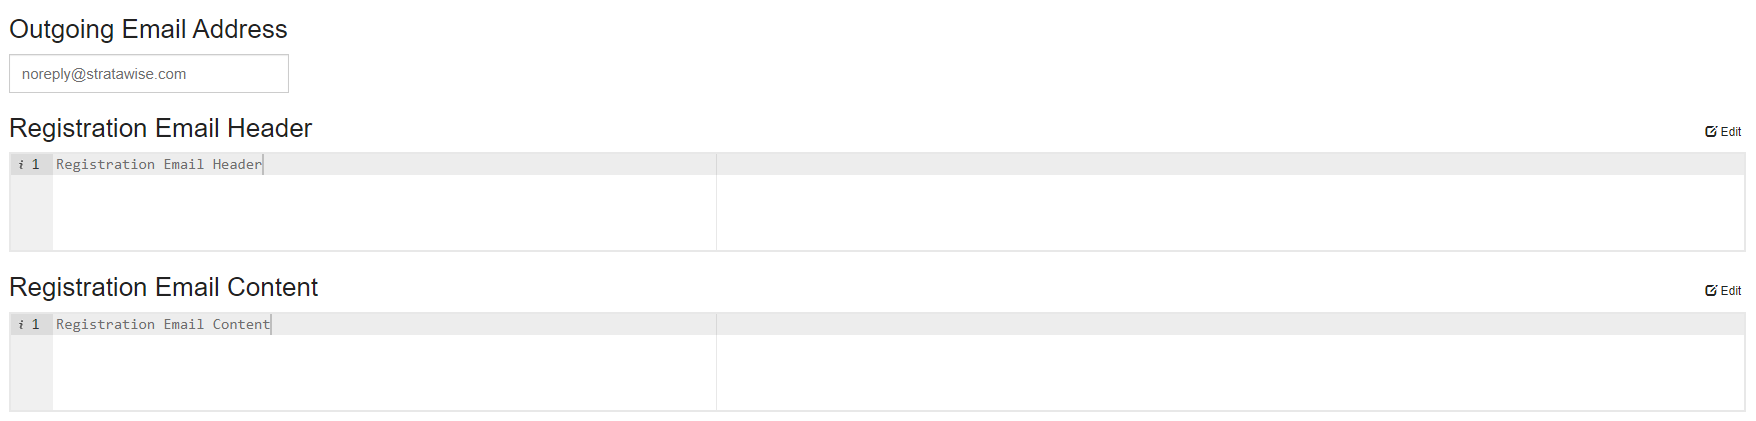
Outgoing Email Address - The outgoing email address is able to be custom defined in the text box displayed, as well as the registration/forgot password email subject/content.

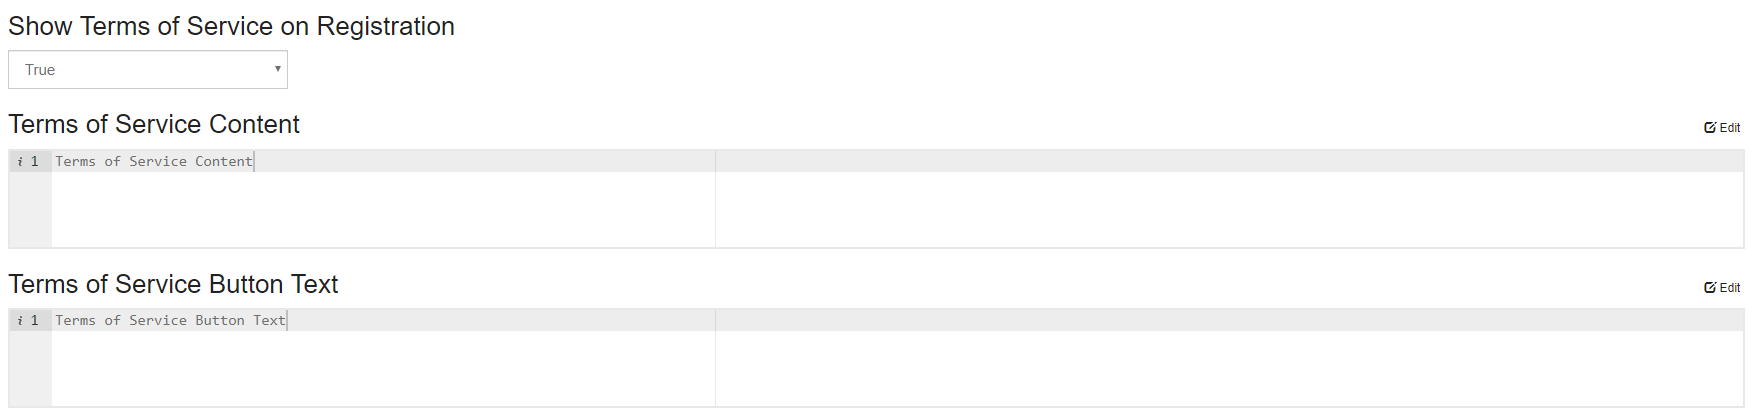
Terms of Service - To display terms of service and customize them select 'True' in the dropdown and the content desired into the text areas.
Related articles