Creating a new Dashboard
- Stratawise Support
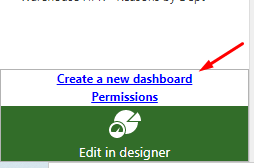
- Click on Dashboard.
- Click on Create a new dashboard.
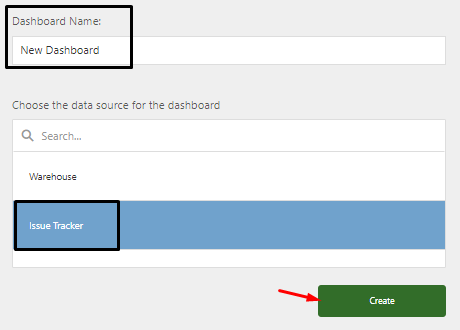
3. Give the new Dashboard a name.
4. Select the module to connect to.
5. Click the Create button.
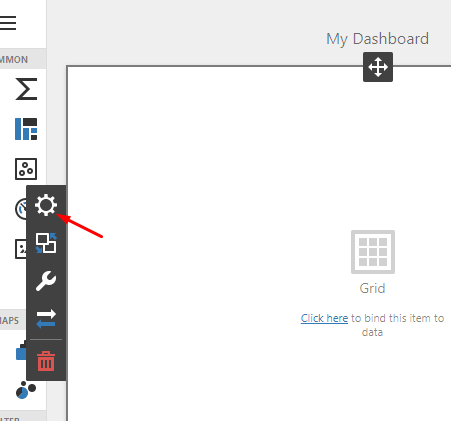
6. Select the type of visual you want to use. In this case Grid is selected.
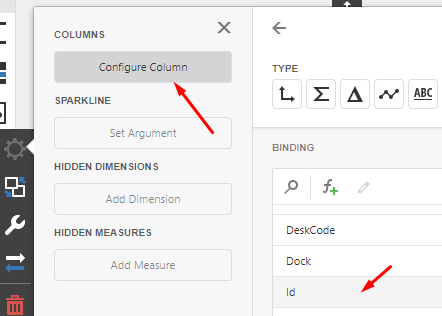
7. When you hover over the Grid or click on the grid you should see a new time tool bar appear. Click on the Binding Gear.
8. Click on Configure Column.
9. Select the item you would like to add to the grid.
10. Continue to click on Configure Column to add all items you want in your grid.
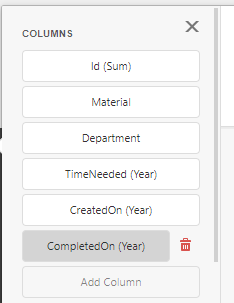
11. You can now click the X to close the tools and see what is in your grid.
12. You will notice some things that are not in the best format. For more information on formatting see link for Formatting Date and Time
a. In this case there are several items that have several words run together.
b. The ID is showing as a decimal in thousands.
c. Created On and Completed On only show the year

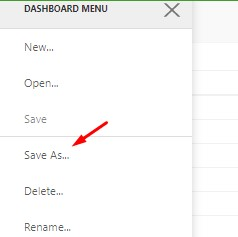
13. To save your dashboard go to the Dashboard Menu and select Save (or if editing and you want a new copy, Save As).